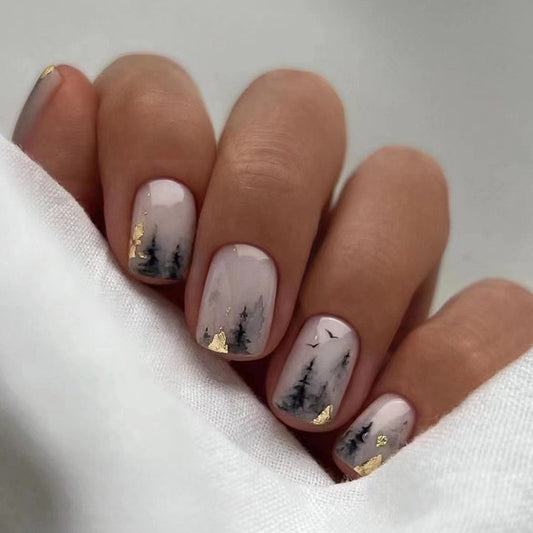
The Ultimate Guide to Rocking White Nails with a Black Heart
Are you tired of the same old plain colored nails? It's time to switch things up and add some sass to your nail game! White nails with black heart designs are taking over the beauty world and we're here to help you achieve the perfect look. Here's a step-by-step guide to getting those sleek and stylish nails:
1. Start with a clean slate- Remove any old nail polish and trim your nails to your desired length. Use a buffer to smooth out any ridges or bumps.
2. Apply base coat- Protect your nails from chipping and staining by applying a base coat before applying your main nail polish.
3. White out- Apply two coats of white nail polish to all nails. Let the first layer dry before applying the second.
4. Black heart- With a thin nail art brush or toothpick, create a small black heart on the center of each nail. Make sure the heart is centered and uniform on each nail.
5. Top it off- Seal in the design with a topcoat. This will give your nails a shiny finish and make them last longer.
Not feeling confident enough to freehand the heart designs? Don't worry! You can always use nail stickers or stencils to create the perfect heart shape on each nail.
White nails with black heart designs are versatile and can be worn for any occasion- from a casual day out to a formal event. It's the perfect way to add some edge to your look without going too over the top.
So go ahead, rock those stylish nails and show off your inner fashionista! Remember, a little sass goes a long way.


