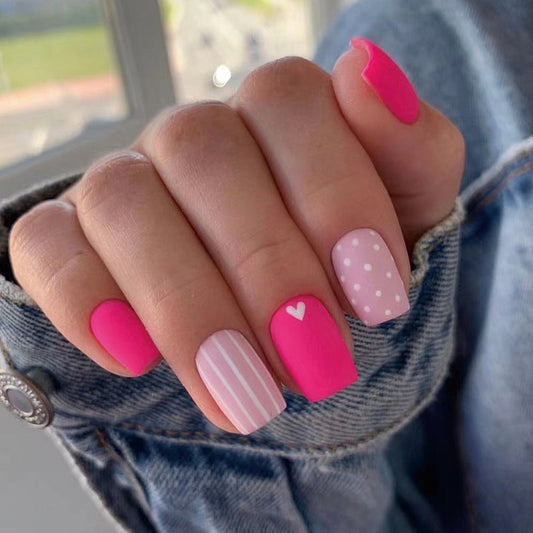
The Ultimate Flower Nail Tutorial: A Step-by-Step Guide
If you're looking for a way to add some extra flair to your nails, flower nails might be the perfect solution! However, it can be intimidating to try out this intricate design. That's why we've put together the ultimate flower nail tutorial to help you create magazine-worthy nails. Here's how to get started:
1. Gather your supplies: You'll need a base coat, two to three nail polish colors, a dotting tool, and a small brush. This will ensure that you have everything you need to create the perfect flower nails.
2. Pick your colors: Decide which colors you want to use for your flowers and petals. We recommend choosing colors that complement each other, such as pink and purple or blue and green. You can also mix and match different shades of the same color for a dynamic effect.
3. Apply a base coat: Before starting on your flower nails, apply a base coat to protect your nails. This will also help the nail polish go on smoothly and prevent chipping.
4. Paint your nails: Once the base coat dries, apply your chosen base color to your nails. This will serve as the base for your flower design.
5. Use a dotting tool: Dip the dotting tool into your second color and create dots on your nails. This will serve as the center of your flowers.
6. Add petals: Use a small brush to create petals around the center dots. You can create different types of petals, such as simple strokes or curved shapes. Be sure to alternate between colors to create a more dynamic look.
7. Finish with top coat: Once your flower design is dry, finish with a top coat to protect your nails and make them shine.
With this ultimate flower nail tutorial, you're well on your way to creating a beautiful and eye-catching manicure. Give it a try and see how creative you can get with your designs. Happy painting!