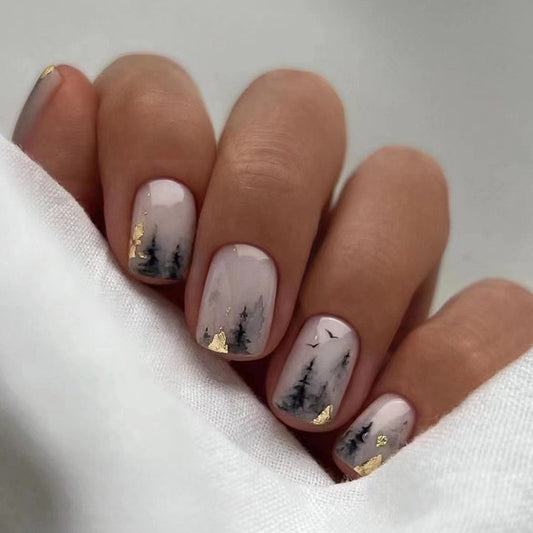
The Top Trends and Tips for Achieving the Perfect Ombre Rose Gold Nails
When it comes to nail trends, ombre rose gold nails have taken the beauty world by storm. This sophisticated, yet edgy look is perfect for any occasion, from a night out with friends to a formal event. Not only does this style look amazing, but it's also surprisingly easy to achieve at home. Here are our top tips and tricks to master this look:
1. Start with the Right Tools: Before you start, you'll need the right tools. You'll need a base coat, two shades of rose gold nail polish (one lighter and one darker), and a topcoat. Additionally, you'll need a sponge, a makeup brush, and a few toothpicks.
2. Prepare your Nails: Before you start creating your ombre rose gold nails, be sure to prepare your nails by filing them into your desired shape and buffing the surface to smooth out any ridges. Apply a base coat to protect your natural nails and help the polish adhere better.
3. Create Your Ombre Effect: Dip your makeup brush into the lighter shade of rose gold and paint a thin strip across the sponge. Then, dip your brush into the darker shade and paint another strip on the sponge, overlapping slightly with the lighter color. Dab the sponge gently onto your nails, starting from the base and working towards the tip. Keep repeating the process until you achieve your desired ombre effect.
4. Add Some Sparkle: To add some extra glam to your ombre rose gold nails, dip a toothpick into a glitter nail polish and apply it to the tips of your nails. This will create a beautiful gradient effect.
5. Apply the Topcoat: Once your nails are dry, apply a topcoat to protect your nail polish, prevent chipping, and keep your nails shiny. It will also smooth out any rough spots from the sponging process.
Ombre rose gold nails are a beautiful and trendy way to add some glamour to any outfit. With these simple steps, you can achieve salon-worthy nails at home in no time. Give it a try and watch as your nails become the talk of the town!


