Sparkle Your Heart Out: The Ultimate Guide to Glitter Heart Nails
Are you tired of the same old plain nail designs? Try out something new with glitter heart nails! This nail trend is all the rage, and we have the perfect guide to get you started.
Here are the steps to creating your own mesmerizing glitter heart nails:
1. Start with a clean, bare nail: Before you begin any nail art, make sure to remove any polish or oils from your nails. This will help the nail art to adhere better and last longer.
2. Apply a base coat: A base coat will not only protect your nails from staining, but it will also create a smooth surface for the glitter to adhere to. Apply a thin layer and let it dry.
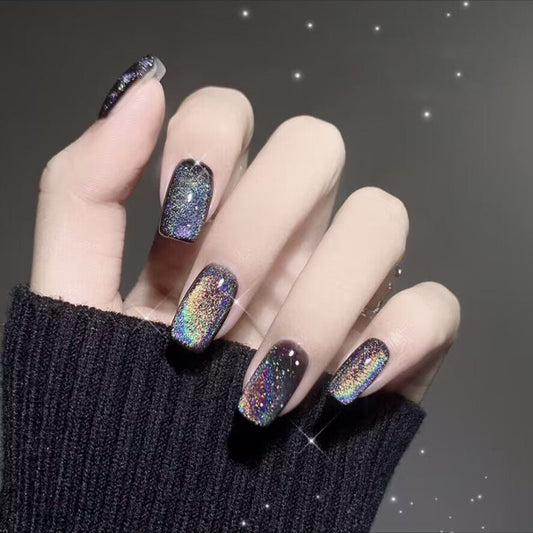
3. Choose your glitter color: Glitter heart nails offer endless possibilities for color combinations. Pick your favorite glitter polish and apply it to your nails.
4. Create your heart shape: Using a thin brush, create a heart shape on each nail. Start by making a small V shape and then drawing a curve on the sides to connect the two points. Let the heart shape dry.
5. Fill in the heart: Using the same glitter polish, fill in the heart shape with a thicker coat of polish. You can also use a glitter topper to give more dimension to your design.
6. Top coat: Seal in the design with a top coat to ensure that the glitter stays in place.
Now that you have your glitter heart nails, here are a few tips to keep them looking fresh:
- Avoid exposing your nails to hot water or other harsh chemicals, as this can cause the polish to chip or peel.
- Apply a new layer of top coat every few days to keep the glitter looking vibrant.
- If a nail does start to chip, touch up the glitter in that area with a small brush and polish.
Glitter heart nails are the perfect way to add some sparkle to your everyday look. Give it a try and watch your nails shine!


