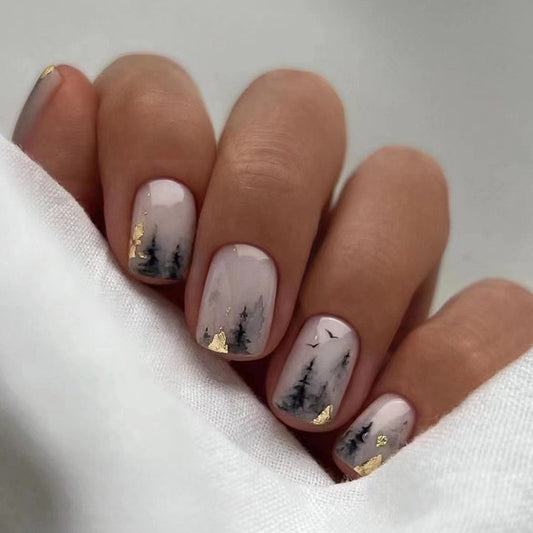
press on nail hacks
- Use nail glue instead of nail tabs for a stronger and more secure hold: Nail glue is a thicker and more durable adhesive than nail tabs, which can make it easier to apply and less likely to peel or lift.
- File the edges of your press on nails to create a seamless fit: Filing the edges of your press on nails can help to create a more natural and seamless look, as it will help to blend the artificial nail with your natural nail bed.
- Use a nail buffer to smooth out any bumps or imperfections: A nail buffer is a small, flat tool with a rough surface that can be used to smooth out any bumps or imperfections on your press on nails. Simply buff the surface of your nails in a back and forth motion until you achieve the desired finish.
- Use a clear topcoat to add shine and protect your press on nails: Applying a clear topcoat to your press on nails can help to add shine and protect them from chipping or peeling. Simply paint the topcoat over your nails and allow it to dry completely before wearing or handling your nails.
- Use a toothpick to fix any mistakes or misalignments: If you make a mistake or misalign your press on nail during the application process, a toothpick can be a handy tool for fixing it. Simply use the toothpick to gently push the nail into place or to remove any excess glue.
- Use nail glue dots to secure your press on nails: Nail glue dots are small, pre-made drops of nail glue that can be used to secure your press on nails. Simply peel off a dot and place it on the adhesive side of the nail, then press the nail firmly onto your natural nail bed. The dot will dry and secure the nail in place.
- Use a cotton ball soaked in nail polish remover to remove excess glue: If you get excess glue on your skin or cuticles while applying your press on nails, a cotton ball soaked in nail polish remover can be used to remove it. Simply dab the cotton ball onto the glue and gently rub it off.


