Little Heart Nails: The Hottest Nail Trend of the Season
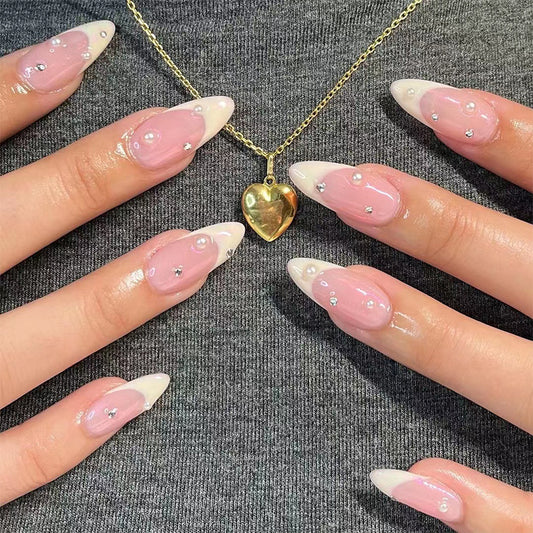
Little heart nails have been the go-to nail trend of fashionistas this season. These whimsical and playful nails are the perfect way to add a touch of romance to your outfit. Whether you're going on a date or simply want to add some fun to your daily look, little heart nails are the way to go. Here are some tips and tricks to achieve the perfect little heart nails:
1. Start with a clean canvas. Before you start painting your little hearts, make sure your nails are clean and prepped. Remove any old nail polish and file your nails to your desired shape.
2. Choose your colors. Heart nails are all about the color combination. Some popular color combinations for little heart nails include red and pink, pink and white, or black and white. Use a base coat for your desired color, and pick a contrasting color for your little hearts.
3. Create your little hearts. There are a few different ways to achieve the perfect little heart shape. The easiest way is to use a nail stamp or stencil. Simply apply your contrasting color to the stamp or stencil and press it onto your nail. Another way to create the little hearts is to use a toothpick. Dip the toothpick into your contrasting color and carefully create two dots next to each other. Then, connect those dots with a downward stroke to create the heart shape.
4. Add some glitter. For an extra touch of glamour, add some glitter to your little heart nails. You can either add glitter to your base coat or to the little hearts themselves.
5. Seal the deal. Once your little hearts are dry, add a top coat to seal in the design. This will help your little hearts last longer and prevent chipping.
Little heart nails are the perfect way to add some romance to any outfit. Whether you're going on a date or simply want to add some fun to your daily look, these nails are sure to make a statement. So grab your favorite colors and get to painting!


