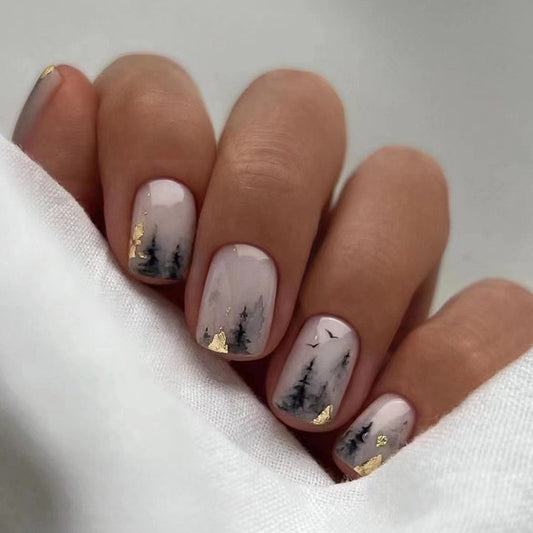
How to Rock Black and Green Ombre Nails Like a Pro
When it comes to nails, nothing screams edgy like an ombre effect. And, if you’re all about dark and bold hues, then black and green ombre nails are the way to go. This trend has been making rounds on social media and runway shows, with celebrities like Rihanna and Kylie Jenner flaunting these killer nails.
Here’s a step-by-step guide on how to slay this nail trend:
1. Get the right tools and products: To achieve this look, you’ll need black and green nail polishes, a makeup sponge, a base coat, and a top coat.
2. Start with a base coat: Before applying any nail polish, make sure to apply a base coat. This will help the nail polish adhere better to your nails, prevent staining, and extend the life of your manicure.
3. Paint your nails: Apply two coats of black nail polish to all your nails, and let them dry completely.
4. Sponge the green nail polish: Take the green nail polish and apply a few drops onto the edge of a makeup sponge. Then gently dab the sponge onto the tips of your nails until you achieve your desired ombre effect.
5. Clean up the edges: Use a small brush dipped in nail polish remover to clean up any excess nail polish on your skin or cuticles.
6. Seal the look: Once you’re happy with the ombre effect, apply a top coat to protect the manicure and add shine.
And voila! You have chic and edgy black and green ombre nails that are perfect for any occasion. You can dress them up with some bling or keep them simple and sleek, either way, you’re sure to turn heads.
In conclusion, black and green ombre nails are a trendy and fun way to add some edge to your look. With the right tools, products, and technique, you’ll be able to rock this look with confidence. So, why not give this trend a try and unleash your inner fashionista?


