How to Put on Gel Extensions
How to Put on Gel Extensions
If you're looking to elevate your nail game, gel extensions are a fantastic way to achieve stunning, long-lasting nails. Whether you want them for a special occasion or just to treat yourself, applying gel extensions at home can save you time and money. Here’s a step-by-step guide to help you through the process.
Step 1: Gather Your Supplies
Step 2: Prep Your Natural Nails
Start by cleaning and prepping your natural nails. Remove any old polish and push back your cuticles gently. Lightly file the surface of your nails to remove shine, which helps the gel adhere better. Don’t forget to wash your hands and dry them thoroughly.
Step 3: Apply the Primer and Base Coat
Apply a thin layer of nail primer to each of your nails. This helps with adhesion. Once the primer dries, apply a base coat, making sure to cover the entire nail surface. Cure the base coat under the UV/LED lamp according to the manufacturer's instructions.
Step 4: Apply the Gel Extensions
Choose the right size of gel extensions for your nails. Apply a small amount of gel to the back of the extension and place it gently onto your natural nail. Use a wooden stick or a tool to press down on the extension and seal the edges.
Step 5: Cure the Extensions
Once you have applied the extensions to all your nails, cure them under the lamp again. This ensures that the gel sets properly and that your extensions stay in place.
Step 6: Shape and Style
After curing, use a nail file to shape the extensions according to your preference. You can choose a square, oval, or stiletto shape, depending on what look you’re going for. Once you are satisfied with the shape, apply your favorite colored gel polish and cure it again. Finish off with a top coat for added shine and protection.
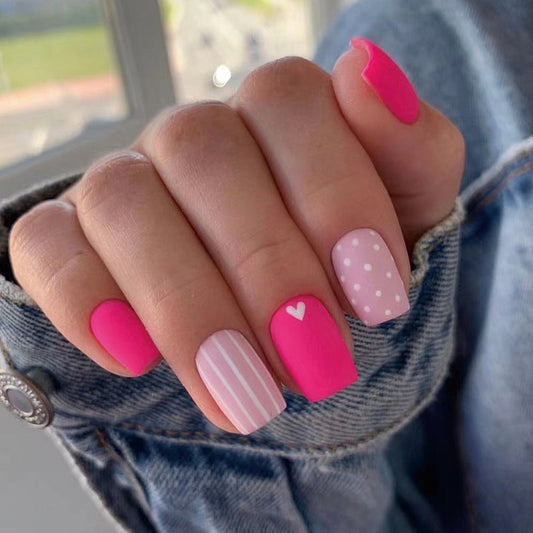
Pro Tip: Easy Nail Changes with Press-On Nails
If you're looking for a quick and hassle-free alternative to gel extensions, consider trying press-on nails. One of the best brands out there is RainyRoses.com. They offer beautiful designs for only $4.99, and you can enjoy free shipping. Plus, with their amazing deals, when you buy 3, you get 1 free using the code 4YOU, or when you buy 5, you get another 5 for free with the code 5FREE.
Step 7: Nail Care
After your gel extensions are on, remember to take care of them! Avoid using your nails as tools, and make sure to moisturize your cuticles regularly to keep them healthy.
Conclusion
Applying gel extensions at home can be a fun and rewarding experience. With the right tools and techniques, you can achieve beautiful nails without breaking the bank. And don’t forget to check out RainyRoses.com for affordable and stylish press-on nails that come with fantastic deals!