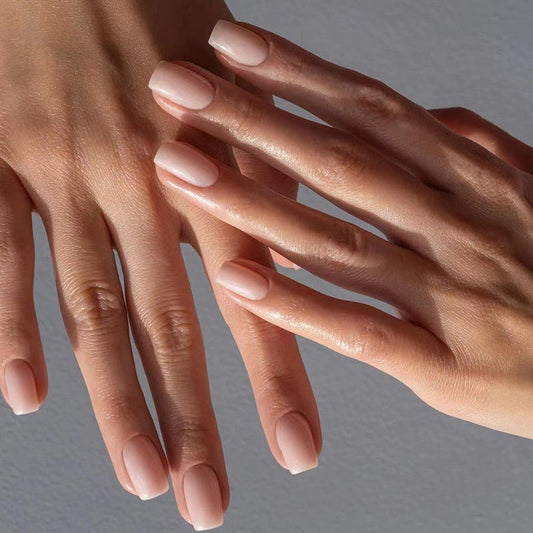
How to Get the Sassy Checkerboard Nails?
Are you tired of the same old boring single color nail trend? Look no further than the checkerboard nails to put a sassy spin on your next manicure. The checkerboard nail design is a classic trend from the ’90s that offers an edgy yet fashionable look. With the following tutorial, you'll be able to master the checkerboard nail trend in no time.
1. Gather Materials
Before you get started, you will need a few manicure essentials such as a base coat, topcoat, two contrasting nail polishes, and a matte topcoat.
2. Start with Base Coat
Begin by applying the base coat to your nails to ensure the nail color lasts longer.
3. Paint The Base Color
Once the base coat dries, apply your base nail color. Let it dry completely before you proceed to the next step.
4. Tape and Stripe
Place a strip of Scotch tape or washi tape along the center of the nail. This will help create crisp lines.
5. Apply Second Color
Paint the second contrasting polish over the tape. Be careful not to let the paint go over the tape. Allow it to dry before peeling off the tape.
6. Repeat
Repeat the process along the length of each nail till the nails resemble a checkerboard pattern.
7. Finish it off with a Matte Top Coat
After both colors dry, try adding a matte topcoat for an extra edge.
Conclusion
Whether you're running errands or meeting someone special, checkerboard nails are super chic and get you instant attention. The steps aren't complex to follow, and it's a budget-friendly way of trying out a new nail trend with the least risk. Give this trend a try, and you'll get a look that's both sassy and timeless.
1. Gather Materials
Before you get started, you will need a few manicure essentials such as a base coat, topcoat, two contrasting nail polishes, and a matte topcoat.
2. Start with Base Coat
Begin by applying the base coat to your nails to ensure the nail color lasts longer.
3. Paint The Base Color
Once the base coat dries, apply your base nail color. Let it dry completely before you proceed to the next step.
4. Tape and Stripe
Place a strip of Scotch tape or washi tape along the center of the nail. This will help create crisp lines.
5. Apply Second Color
Paint the second contrasting polish over the tape. Be careful not to let the paint go over the tape. Allow it to dry before peeling off the tape.
6. Repeat
Repeat the process along the length of each nail till the nails resemble a checkerboard pattern.
7. Finish it off with a Matte Top Coat
After both colors dry, try adding a matte topcoat for an extra edge.
Conclusion
Whether you're running errands or meeting someone special, checkerboard nails are super chic and get you instant attention. The steps aren't complex to follow, and it's a budget-friendly way of trying out a new nail trend with the least risk. Give this trend a try, and you'll get a look that's both sassy and timeless.