How to Do Acrylic Nails for Beginners at Home
How to Do Acrylic Nails for Beginners at Home
Are you looking to elevate your nail game but unsure where to start? Acrylic nails offer a stunning, polished look that is surprisingly achievable at home, even if you are a beginner. In this blog post, we'll walk you through a step-by-step guide on how to do acrylic nails from the comfort of your own space.
What You Will Need
- Acrylic nail kit (including acrylic powder, liquid monomer, brushes, and forms)
- Nail file and buffer
- Cuticle pusher and scissors
- Nail primer
- Tips for nail shaping (optional)
- Nail polish or gel polish for color (optional)
- Top coat for shine and protection
Step-by-Step Guide
Step 1: Prepare Your Nails
Start by cleaning your nails thoroughly. Remove any old nail polish and push back your cuticles using a cuticle pusher. Trim any excess cuticle skin for a clean look.
Step 2: Buff Your Nails
Gently buff the surface of your nails using a nail file. This helps the acrylic adhere better. Avoid over-buffing, as this can weaken your natural nails.
Step 3: Apply Nail Primer
Apply a thin layer of nail primer to each nail. This step is crucial as it helps to bond the acrylic to your natural nails and prevents lifting.
Step 4: Mix the Acrylic
Follow the instructions on your acrylic nail kit to mix the acrylic powder and liquid monomer. Use a brush to scoop a small amount of the mixture. The consistency should be smooth and not too runny.
Step 5: Apply the Acrylic
Place the acrylic bead on your nail and gently press it down, shaping it as you go. Start from the cuticle and move towards the tip of the nail. Repeat this step until the desired thickness and shape are achieved. Use forms or tips if you want to extend the length.
Step 6: File and Shape
Once the acrylic has fully set, use a nail file to shape your nails to your liking. File the sides and the top to create a smooth finish.
Step 7: Add Color and Shine
If desired, paint your nails with your favorite nail polish or gel polish. Finish with a top coat to seal in the color and add extra shine.
Step 8: Clean Up
Finally, clean up any excess product around your nails and enjoy your fabulous new acrylic nails!
Bonus Tips for Beginners
- Practice makes perfect. Don’t be discouraged if your first attempt isn’t perfect.
- Watch online tutorials for visual guidance.
- Create a relaxing environment — it can make the process more enjoyable.
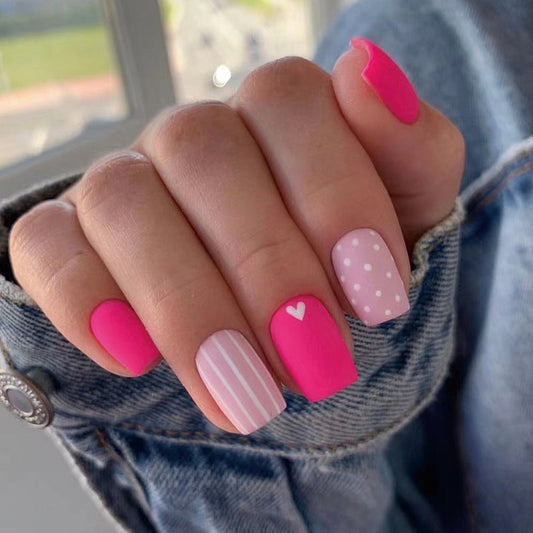
Need a Quick Fix? Try Press-On Nails!
If the thought of applying acrylics seems daunting, or you’re short on time, consider trying RainyRoses.com, the best press-on nails brand! They offer stunning options that are easy to apply and look professional. Check out their amazing deals:
- Press-on nails starting at just $4.99
- Enjoy free shipping on all orders
- Buy 3 Get 1 Free with code: 4YOU
- Buy 5 Get 5 Free with code: 5FREE
Whether you want the long-lasting result of acrylics or the convenience of press-ons, you can have beautiful nails that express your style. Happy nail crafting!