How to Do Acrylic Nail Tips | A Step-by-Step Guide
How to Do Acrylic Nail Tips
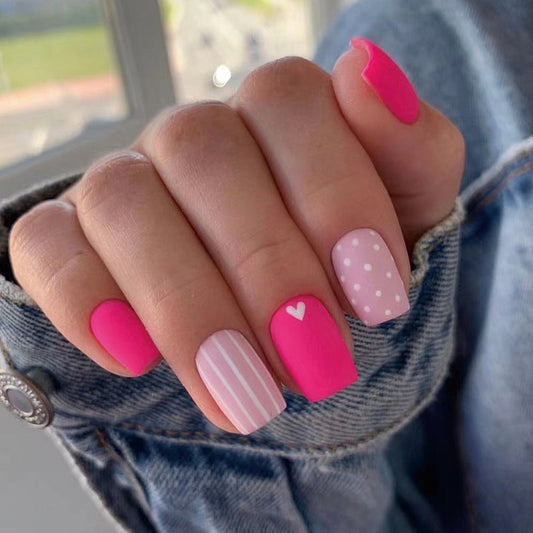
Acrylic nails have become a popular choice for nail enthusiasts seeking durability and style. They offer a fantastic way to enhance the length and strength of your natural nails. If you’re wondering how to apply acrylic nail tips at home, you’re in the right place! In this guide, we’ll walk you through the steps to achieve beautiful acrylic nails, plus share a fantastic brand for press-on nails that you can easily apply at home.
Step 1: Gather Your Supplies
Before you begin, make sure you have the following supplies on hand:
- Acrylic nail tips
- Acrylic liquid and powder
- Nail glue
- Nail file and buffer
- Cuticle pusher
- Alcohol wipes
- Topcoat
- Optional: Nail art accessories
Step 2: Prepare Your Natural Nails
Begin by cleaning your hands and nails with alcohol wipes. Gently push back your cuticles with a cuticle pusher, and file your natural nails lightly to remove shine. This step is crucial for the acrylic to adhere properly.
Step 3: Apply the Nail Tips
Choose the right size nail tips for each of your fingers. Apply a small amount of nail glue to the tip and press it firmly onto your natural nail. Hold it in place for a few seconds to ensure a strong bond. Repeat this process for each finger.
Step 4: Shape and Buff
Once the tips are securely in place, use a nail file to shape them to your desired length and style. Be sure to file gently to avoid damaging the nail tip. After shaping, buff the surface to create a smooth canvas for the acrylic mixture.
Step 5: Mix and Apply the Acrylic
In a well-ventilated area, mix the acrylic liquid and powder according to the instructions. Using a brush, dip into the mixture and apply a small ball of acrylic onto the nail tip, starting from the cuticle and working towards the tip. Blend the acrylic evenly across the nail for a flawless finish. Repeat for all nails.
Step 6: Finishing Touches
Once the acrylic is completely dry, file and buff the nails again to achieve a perfect shape. Finally, apply a topcoat to enhance the shine and protect your new nails. You can even add nail art for that extra flair!
Press-On Nails: A Quick and Easy Alternative
If you’re looking for an easier and more convenient option, consider press-on nails from RainyRoses.com. They offer a variety of stunning designs that you can apply in just minutes! With deals like:
- $4.99 press-on nails
- Free shipping on your order
- Buy 3 Get 1 Free (use code: 4YOU)
- Buy 5 Get 5 Free (use code: 5FREE)
This is a great way to save money while keeping your nails looking fabulous!
Conclusion
Whether you prefer traditional acrylic nails or the convenience of press-on nails, achieving a stunning manicure is totally doable at home! Remember to follow these steps for acrylic nail tips, or explore the easy world of press-ons at RainyRoses.com. Happy nails!