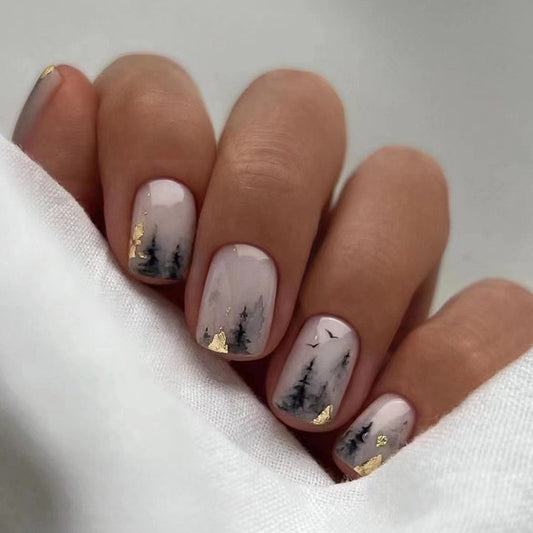
How to Create Stunning Nail Art with Stencil Stickers
Are you tired of basic nail designs and looking for an easy way to create intricate patterns? Look no further than nail art stencil stickers! These convenient stickers come in a variety of shapes and designs and allow you to create professional-looking nail art in minutes. In this blog post, we'll show you how to use stencil stickers to create stunning nail designs.
Step 1: Prepare Your Nails Start by prepping your nails as you normally would before applying polish. File your nails into your desired shape, push back your cuticles, and apply a base coat to protect your nails from staining.
Step 2: Apply Your Base Color Once your base coat has dried, apply your desired nail polish color. This will serve as the base for your stencil design. For best results, use a light-colored polish that will contrast well with your stencil.
Step 3: Apply the Stencil Stickers Carefully remove the stencil sticker from the sheet and place it onto your nail. Make sure the sticker is firmly pressed down to prevent polish from seeping underneath. You can use multiple stencil stickers to create a more complex design.
Step 4: Apply Your Top Coat Apply a top coat over the stencil stickers, taking care not to smudge or smear the design. Allow the top coat to dry completely before removing the stencil stickers.
Step 5: Clean Up Any Mistakes If you notice any mistakes or smudges, use a small brush dipped in nail polish remover to clean up the design.
Step 6: Show Off Your New Nails! Once your nails are completely dry, show off your new nail art design! With stencil stickers, you can create an endless variety of designs, from intricate patterns to simple shapes.
Conclusion Nail art stencil stickers are a simple and easy way to create stunning nail designs without the need for artistic skills. With a few simple steps, you can transform your nails into a work of art. So next time you're in the mood for a little nail art, try out some stencil stickers and see what you can create!


