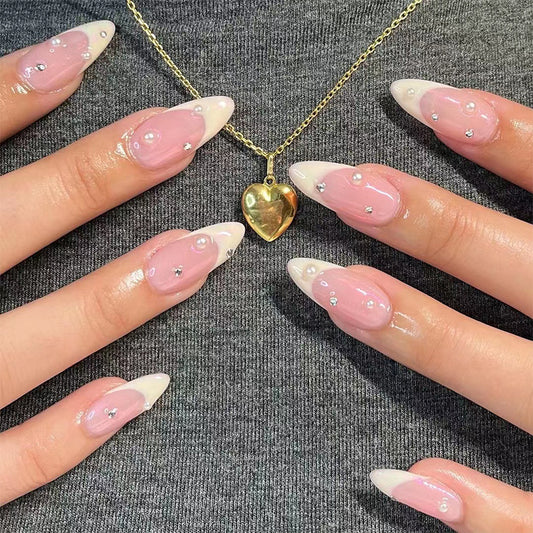
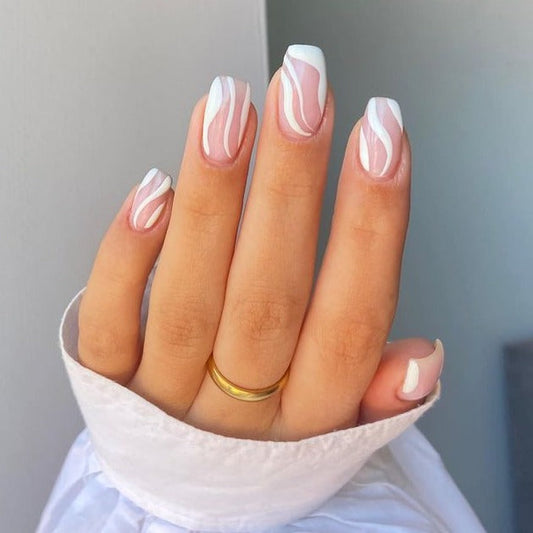
How to Achieve the Perfect Gray and Black Ombre Nails
If you're looking for a chic and trendy nail design, the gray and black ombre nails are perfect for you! Not only does it add a sophisticated touch to your overall look but it also gives your nails a modern vibe. Here's how to achieve the perfect gray and black ombre nails:
1. Choose the Right Shades: Deciding on the right shades of gray and black is essential to get the perfect gradient effect. As a rule of thumb, choose one dark and one lighter shade to achieve the desired contrast.
2. Prep Your Nails: It's crucial to prep your nails before applying any polish. Start by filing and shaping your nails into your desired shape and length. After that, apply a thin layer of base coat to protect your nails from damage.
3. Apply the Base Color: Once the base coat has dried, apply the lighter shade from the base to the middle of your nails. Don't worry about achieving a perfect edge as we'll be blending it later.
4. Add the Darker Shade: Once the lighter shade has dried, apply the darker shade to the tips of your nails. Make sure to wipe off any excess polish from the brush before applying it to get a clean line.
5. Blend the Colors: With a small brush or sponge, lightly blend the two colors together. This will create a gradient effect that's seamless and smooth.
6. Seal the Look: Once the ombre is complete, apply a shiny topcoat to maintain the durability of your nails and keep the polish looking fresh.
Gray and black ombre nails are a stylish and popular trend that you can easily do at home. By following these tips, you can confidently achieve the perfect gradient effect and flaunt your chic and modern nails. Whether you're going to work or attending a special event, this nail design will definitely turn heads!


