How to Achieve the Perfect DIY Halloween Nails - Vogue Style Guide
Halloween is just around the corner, and what better way to get into the spooky spirit than with some fantastic DIY Halloween nails? Whether you're a seasoned nail artist or a complete beginner, our Vogue Style Guide will show you how to achieve the ultimate Halloween manicure. Get ready to show off your Halloween spirit with these fun, easy, and creative nail designs!
1. Choose Your Nail Design Inspiration
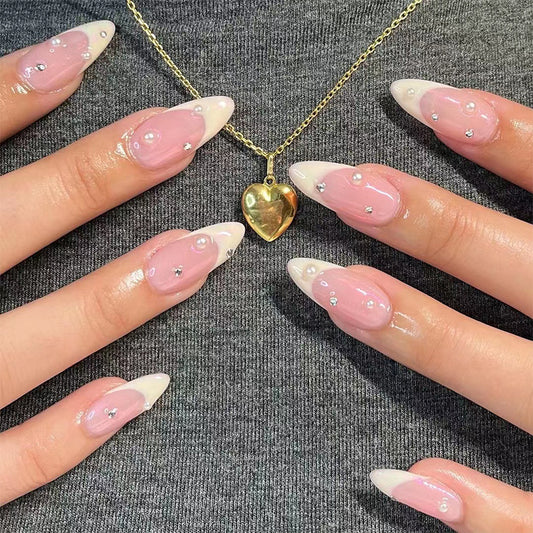
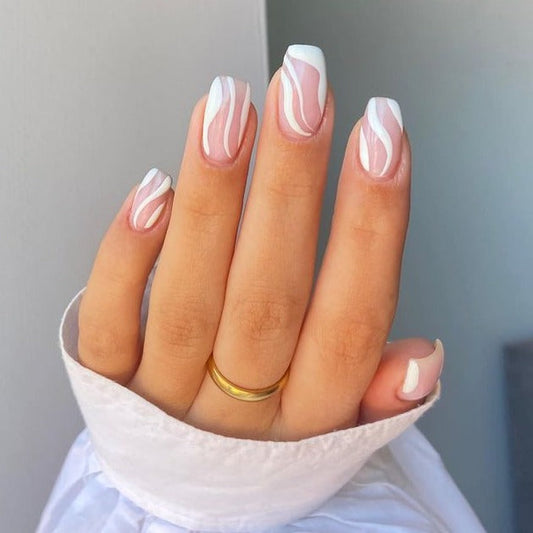
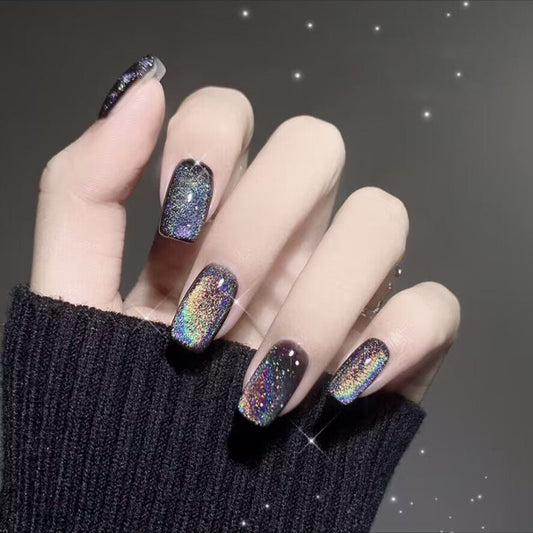
The first step to achieving the perfect DIY Halloween nails is to choose your inspiration. There are plenty of ideas to choose from, including spooky ghosts, creepy spiders, and cute pumpkins. Pinterest and Instagram are great places to find inspiration, and don't be afraid to mix and match ideas to create your own unique design.
2. Gather Your Supplies
Once you've decided on your inspiration, it's time to gather your supplies. You'll need a base coat, at least two colors of nail polish, a top coat, and any additional tools or decorations you want to use, such as stickers, rhinestones, or stamps. Make sure you have a steady hand and a good brush to work with, as well as nail polish remover for any mistakes.
3. Prep Your Nails
Before you start painting, make sure your nails are clean and dry. Use a nail file to shape and smooth your nails, and push back your cuticles with a cuticle pusher. Apply a base coat to help your nail polish last longer and prevent any staining.
4. Start Painting
Now it's time to start painting your nails! Begin with your base color and let it dry completely before moving on to your design. Use a steady hand and light strokes to create your design, working slowly and carefully to prevent any mistakes. If you need to make corrections, use a small brush or cotton swab dipped in nail polish remover to tidy up any smudges or mistakes.
5. Add the Finishing Touches
Once you've finished painting your nails, it's time to add the finishing touches. Apply a top coat to protect your design and give your nails a glossy finish. If you're using any additional decorations, such as stickers or rhinestones, now is the time to add them. Just make sure to press them down firmly and seal them with another layer of top coat.
With these easy steps, you can create the perfect DIY Halloween nails and show off your spooky spirit! Don't be afraid to get creative and experiment with different designs, colors, and decorations. Happy Halloween!
1. Choose Your Nail Design Inspiration
The first step to achieving the perfect DIY Halloween nails is to choose your inspiration. There are plenty of ideas to choose from, including spooky ghosts, creepy spiders, and cute pumpkins. Pinterest and Instagram are great places to find inspiration, and don't be afraid to mix and match ideas to create your own unique design.
2. Gather Your Supplies
Once you've decided on your inspiration, it's time to gather your supplies. You'll need a base coat, at least two colors of nail polish, a top coat, and any additional tools or decorations you want to use, such as stickers, rhinestones, or stamps. Make sure you have a steady hand and a good brush to work with, as well as nail polish remover for any mistakes.
3. Prep Your Nails
Before you start painting, make sure your nails are clean and dry. Use a nail file to shape and smooth your nails, and push back your cuticles with a cuticle pusher. Apply a base coat to help your nail polish last longer and prevent any staining.
4. Start Painting
Now it's time to start painting your nails! Begin with your base color and let it dry completely before moving on to your design. Use a steady hand and light strokes to create your design, working slowly and carefully to prevent any mistakes. If you need to make corrections, use a small brush or cotton swab dipped in nail polish remover to tidy up any smudges or mistakes.
5. Add the Finishing Touches
Once you've finished painting your nails, it's time to add the finishing touches. Apply a top coat to protect your design and give your nails a glossy finish. If you're using any additional decorations, such as stickers or rhinestones, now is the time to add them. Just make sure to press them down firmly and seal them with another layer of top coat.
With these easy steps, you can create the perfect DIY Halloween nails and show off your spooky spirit! Don't be afraid to get creative and experiment with different designs, colors, and decorations. Happy Halloween!