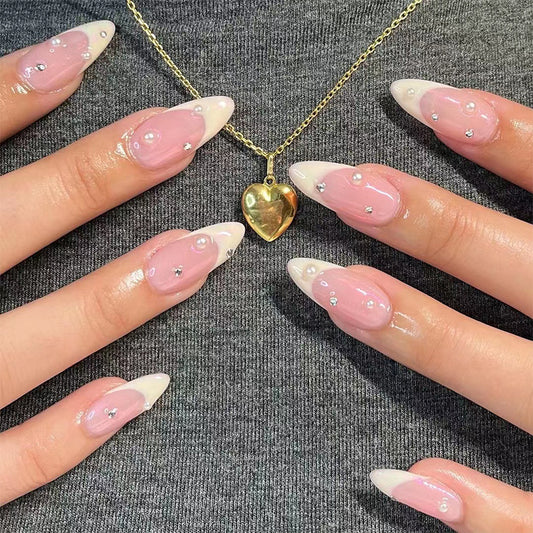
How to Achieve Effortlessly Chic Blue and Gold Marble Nails
Are you looking for a simple yet stunning nail design that will make you stand out in any crowd? Look no further than blue and gold marble nails! This trend has been seen everywhere from fashion runways to Instagram feeds, and with the right tools and techniques, you can achieve this effortless chic look yourself.
Here are our top tips for creating the perfect blue and gold marble nails:
1. Prepare Your Nails
As with any nail design, it's crucial to start with clean, dry, and trimmed nails. Use a base coat to protect your nails and prevent any staining. If you have any cuticles, gently push them back with a cuticle pusher or trim them with a cuticle clipper.
2. Gather Your Supplies
To create the blue and gold marble design, you will need:
- Base coat
- Blue nail polish
- Gold nail polish
- Toothpick or nail art tool
- Clear topcoat
3. Apply Your Base Color
Start by applying your base color, in this case, blue nail polish. Wait for it to dry before moving on to the next step.
4. Prep Your Gold Polish
Take your gold nail polish and unscrew the cap. Next, drip one or two drops of the polish onto a flat surface. This will be your palette for the next step.
5. Create Your Marbled Effect
Using your toothpick or nail art tool, swirl the gold polish around on your palette until it starts to look like a marble pattern. Once you've achieved the desired effect, use the toothpick to carefully dip into the gold polish and apply it to your nails. You can create random spots or swirls – the choice is yours. Repeat this step a few times to create a layered effect.
6. Seal the Look
Once you've created your desired design, wait for it to completely dry before applying a clear topcoat. This will help seal the design and make it last longer.
7. Clean Up
Use a small brush dipped in nail polish remover to clean up any excess polish around your nails.
In conclusion, blue and gold marble nails are the perfect way to elevate your nail game and show off your fashion-forward sense of style. With these simple steps and tools, you can achieve this stunning look from the comfort of your own home. Give them a try and get ready to receive some serious compliments!