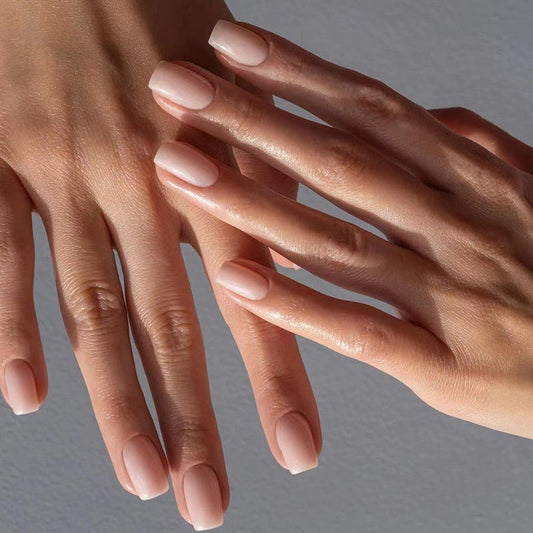
How to Achieve Easy Pineapple Nails Like a Pro
Pineapple nails are the perfect way to add a tropical and fun touch to your summer nails! This playful nail art design is perfect for those looking to experiment with bold, vibrant shades and playful shapes. Here's how you can get these easy pineapple nails at home.
1. Gather Your Supplies
To get started, you’ll need a few essential supplies including a base coat, yellow nail polish, green nail polish, black nail polish, a dotting tool, a thin brush, and a glossy topcoat. Once you have all your supplies ready, you can start working on your pineapple nails.
2. Paint Your Nails Yellow
Begin by applying a base coat to your nails to protect them from staining. Next, apply two coats of yellow nail polish to all your nails. Allow the polish to dry completely before moving on to the next step.
3. Add the Pineapple Design
Using a thin brush and green nail polish, create a V-shape at the base of your nails, starting from the middle. This will serve as the base of your pineapple design. Next, take your dotting tool and create dots over the green V-shape using black nail polish. These dots will resemble the texture of the pineapple. Repeat this process on all your nails.
4. Seal Your Design
Once you're happy with your pineapple design, apply a glossy topcoat to your nails for a smooth and glossy finish. This will also help your nail design last longer and prevent chipping.
5. Flaunt Your Pineapple Nails!
Now that your pineapple nails are complete, it's time to show them off! These playful and easy pineapple nails are perfect for any summer occasion such as beach parties, tropical vacations, or just lounging by the pool.
In conclusion, the pineapple nail art design is a simple and playful way to add some sunshine to your nails. With these easy-to-follow steps, you can recreate this fun and playful design at home with minimal effort and time. So, next time you want to add some tropical vibes to your nails, give these easy pineapple nails a try!
1. Gather Your Supplies
To get started, you’ll need a few essential supplies including a base coat, yellow nail polish, green nail polish, black nail polish, a dotting tool, a thin brush, and a glossy topcoat. Once you have all your supplies ready, you can start working on your pineapple nails.
2. Paint Your Nails Yellow
Begin by applying a base coat to your nails to protect them from staining. Next, apply two coats of yellow nail polish to all your nails. Allow the polish to dry completely before moving on to the next step.
3. Add the Pineapple Design
Using a thin brush and green nail polish, create a V-shape at the base of your nails, starting from the middle. This will serve as the base of your pineapple design. Next, take your dotting tool and create dots over the green V-shape using black nail polish. These dots will resemble the texture of the pineapple. Repeat this process on all your nails.
4. Seal Your Design
Once you're happy with your pineapple design, apply a glossy topcoat to your nails for a smooth and glossy finish. This will also help your nail design last longer and prevent chipping.
5. Flaunt Your Pineapple Nails!
Now that your pineapple nails are complete, it's time to show them off! These playful and easy pineapple nails are perfect for any summer occasion such as beach parties, tropical vacations, or just lounging by the pool.
In conclusion, the pineapple nail art design is a simple and playful way to add some sunshine to your nails. With these easy-to-follow steps, you can recreate this fun and playful design at home with minimal effort and time. So, next time you want to add some tropical vibes to your nails, give these easy pineapple nails a try!