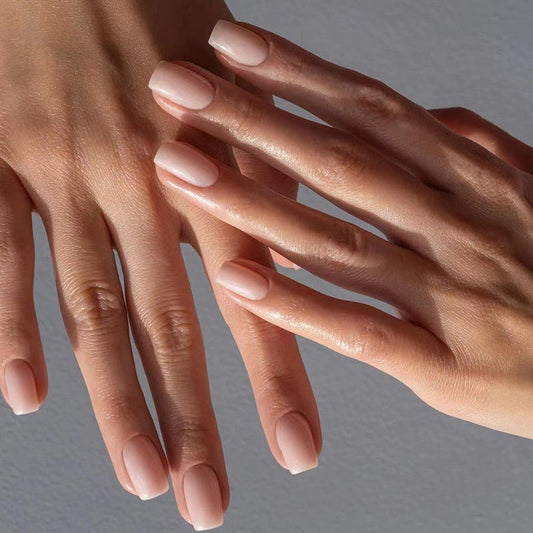
Get the Perfect Tortoise Shell Nails with this Step-by-Step Tutorial
Are you on the hunt for a chic and stylish nail trend? Look no further than the tortoise shell nails! This popular nail design is inspired by the pattern found on the shells of the majestic creatures. With its earthy hues and bold patterns, tortoise shell nails are the perfect statement look for any occasion. In this post, we’ll guide you through a step-by-step tutorial on how to create the perfect tortoise shell nails in the comfort of your own home.
Here are the steps to create the perfect tortoise shell nails:
1. Start off with a base coat
Before diving into the pattern, make sure to apply a base coat to protect your nails from staining and damage. A clear base coat will also serve as the perfect foundation for the tortoise shell pattern to adhere to.
2. Pick out your nail polish colours
To achieve the perfect tortoise shell design, pick out two or three colours that complement each other well and mimic the pattern of a real tortoise shell. Earthy tones like brown, green, and black work well for this style.
3. Start with a base colour
Begin by painting your nails with your base colour. This colour will act as the main colour of your tortoise shell design. Make sure to let your nails dry completely before moving on to the next step.
4. Dot on the other colours
Using the tip of a toothpick or a small dotting tool, add dots or shapes of the other colours on top of your base colour. Blend the dots and shapes together until they form an abstract pattern. You can also use a nail art brush to create thin lines or swirls to make the pattern more intricate.
5. Create the tortoise shell pattern
After you’ve finished dotting on your other colours, use a fine brush to create the tortoise shell pattern. Start at one end of the nail and paint the brush strokes in a curved line to the other end of the nail. Repeat this step several times, making sure to vary the thickness and length of the lines.
6. Finish with a topcoat
Once the pattern has dried, apply a top coat to seal in the design and give your nails a glossy finish.
And that’s it! With these easy steps, you can have stunning tortoise shell nails that are Vogue-worthy in no time. Get creative with your colour choices and patterns to make this look your own. So, go ahead and start experimenting with this easy and fun nail trend today!
Here are the steps to create the perfect tortoise shell nails:
1. Start off with a base coat
Before diving into the pattern, make sure to apply a base coat to protect your nails from staining and damage. A clear base coat will also serve as the perfect foundation for the tortoise shell pattern to adhere to.
2. Pick out your nail polish colours
To achieve the perfect tortoise shell design, pick out two or three colours that complement each other well and mimic the pattern of a real tortoise shell. Earthy tones like brown, green, and black work well for this style.
3. Start with a base colour
Begin by painting your nails with your base colour. This colour will act as the main colour of your tortoise shell design. Make sure to let your nails dry completely before moving on to the next step.
4. Dot on the other colours
Using the tip of a toothpick or a small dotting tool, add dots or shapes of the other colours on top of your base colour. Blend the dots and shapes together until they form an abstract pattern. You can also use a nail art brush to create thin lines or swirls to make the pattern more intricate.
5. Create the tortoise shell pattern
After you’ve finished dotting on your other colours, use a fine brush to create the tortoise shell pattern. Start at one end of the nail and paint the brush strokes in a curved line to the other end of the nail. Repeat this step several times, making sure to vary the thickness and length of the lines.
6. Finish with a topcoat
Once the pattern has dried, apply a top coat to seal in the design and give your nails a glossy finish.
And that’s it! With these easy steps, you can have stunning tortoise shell nails that are Vogue-worthy in no time. Get creative with your colour choices and patterns to make this look your own. So, go ahead and start experimenting with this easy and fun nail trend today!