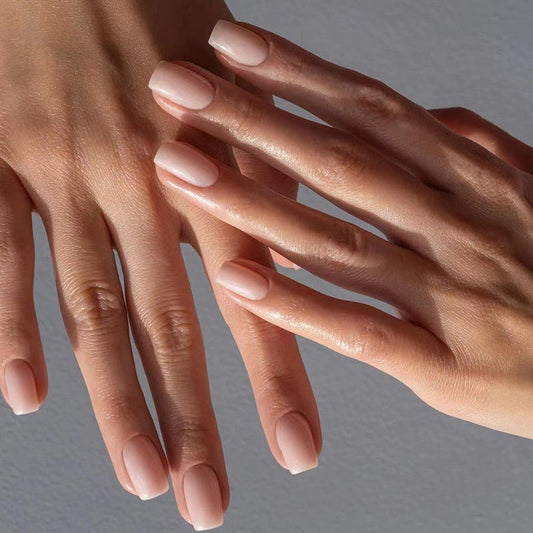
Get The Perfect Poly Gel Extension Nails With This Easy Tutorial
Are you tired of going to the salon to get your nails done and spending too much money? Well, Poly Gel Extension Nails are a simple and affordable way to achieve the salon look at home! Not only are they easy to apply, but they are also durable and long-lasting.
Here is a step-by-step tutorial on how to do your own Poly Gel Extension Nails at home:
1. Remove any nail polish or residue from your nails using a gentle nail polish remover.
2. Clip and file your nails to the desired shape. It is important to remove any rough edges and create a smooth surface for the Poly Gel application.
3. Push back your cuticles gently to ensure a clean and even application. Use a cuticle pusher or an orangewood stick for this step.
4. Apply a base coat/primer to your nails and let it dry. This will help the Poly Gel adhere to your natural nails and ensure a longer wear time.
5. Take a small amount of Poly Gel and place it on your nail bed. Use a brush to spread it evenly and create the desired length and shape.
6. Cure your nails under a UV lamp for 60-90 seconds to harden the Poly Gel.
7. Repeat steps 5 and 6 until you achieve the desired thickness and length. It is recommended to build the Poly Gel in thin layers to prevent lifting or cracking.
8. Once you have applied your final layer of Poly Gel, cure your nails under the UV lamp for 2-3 minutes.
9. Buff and shape your Poly Gel nails to your desired shape using a nail file.
10. Apply a topcoat to your nails to seal and protect the Poly Gel. Let it dry completely.
Enjoy your new Poly Gel Extension Nails! With proper care and maintenance, they can last up to 3-4 weeks.
Try experimenting with different colors and designs to make your Poly Gel Nails unique and trendy. Don't forget to moisturize your cuticles and hands regularly to keep your nails healthy and strong.
In summary, Poly Gel Extension Nails are a fun and easy DIY project that can save you time and money. Follow these simple steps and achieve a professional and salon-looking manicure in the comfort of your own home. Happy polishing!
Here is a step-by-step tutorial on how to do your own Poly Gel Extension Nails at home:
1. Remove any nail polish or residue from your nails using a gentle nail polish remover.
2. Clip and file your nails to the desired shape. It is important to remove any rough edges and create a smooth surface for the Poly Gel application.
3. Push back your cuticles gently to ensure a clean and even application. Use a cuticle pusher or an orangewood stick for this step.
4. Apply a base coat/primer to your nails and let it dry. This will help the Poly Gel adhere to your natural nails and ensure a longer wear time.
5. Take a small amount of Poly Gel and place it on your nail bed. Use a brush to spread it evenly and create the desired length and shape.
6. Cure your nails under a UV lamp for 60-90 seconds to harden the Poly Gel.
7. Repeat steps 5 and 6 until you achieve the desired thickness and length. It is recommended to build the Poly Gel in thin layers to prevent lifting or cracking.
8. Once you have applied your final layer of Poly Gel, cure your nails under the UV lamp for 2-3 minutes.
9. Buff and shape your Poly Gel nails to your desired shape using a nail file.
10. Apply a topcoat to your nails to seal and protect the Poly Gel. Let it dry completely.
Enjoy your new Poly Gel Extension Nails! With proper care and maintenance, they can last up to 3-4 weeks.
Try experimenting with different colors and designs to make your Poly Gel Nails unique and trendy. Don't forget to moisturize your cuticles and hands regularly to keep your nails healthy and strong.
In summary, Poly Gel Extension Nails are a fun and easy DIY project that can save you time and money. Follow these simple steps and achieve a professional and salon-looking manicure in the comfort of your own home. Happy polishing!