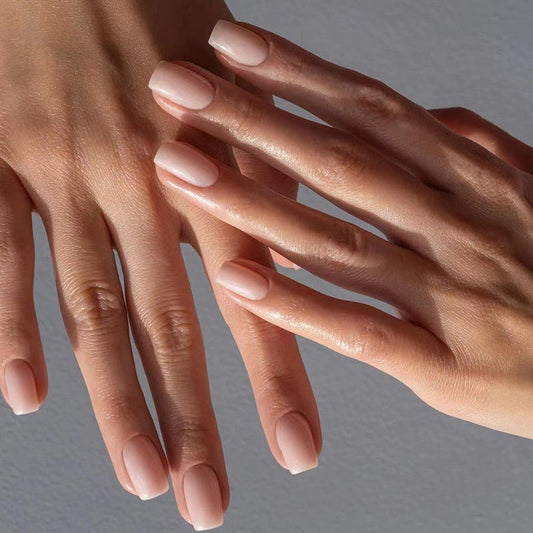
Get a Professional Manicure at Home with This Gelish Dip Tutorial
Are you tired of constantly paying for salon visits to achieve a perfect, glossy manicure? Say goodbye to those expensive trips and learn how to create a long-lasting, salon-quality manicure in the comfort of your own home with this Gelish Dip tutorial.
Follow these simple steps to achieve stunning and polished-looking nails:
1. Prep your nails and apply the base coat: Begin by filing and shaping your nails to your desired length and shape. Buff the surface of your nails to remove any excess oils and debris. Apply a thin layer of Gelish Dip base coat to each nail, ensuring to cover the entire nail surface.
2. Dip your nails in the powder: Once the base coat has dried, carefully dip your nails into the Gelish Dip powder of your choice. Tap off any excess powder and repeat the process, making sure to brush off any remaining powder from your nails.
3. Apply the activator: Apply a coat of Gelish Dip activator over the surface of each nail. This step helps to harden and set the powder onto your nails.
4. File and buff your nails: Once the activator has dried, begin shaping your nails with a file to achieve your desired shape. Buff the surface of your nails to smooth out any bumps or ridges.
5. Apply the top coat: Finally, apply a thin layer of Gelish Dip top coat to each nail to seal in the color and add a glossy finish. Allow the top coat to dry fully.
With this simple Gelish Dip tutorial, you can achieve a durable, glossy, and long-lasting salon-quality manicure from the comfort of your own home. Say goodbye to expensive salon trips and hello to stunning, professional-looking nails.
Follow these simple steps to achieve stunning and polished-looking nails:
1. Prep your nails and apply the base coat: Begin by filing and shaping your nails to your desired length and shape. Buff the surface of your nails to remove any excess oils and debris. Apply a thin layer of Gelish Dip base coat to each nail, ensuring to cover the entire nail surface.
2. Dip your nails in the powder: Once the base coat has dried, carefully dip your nails into the Gelish Dip powder of your choice. Tap off any excess powder and repeat the process, making sure to brush off any remaining powder from your nails.
3. Apply the activator: Apply a coat of Gelish Dip activator over the surface of each nail. This step helps to harden and set the powder onto your nails.
4. File and buff your nails: Once the activator has dried, begin shaping your nails with a file to achieve your desired shape. Buff the surface of your nails to smooth out any bumps or ridges.
5. Apply the top coat: Finally, apply a thin layer of Gelish Dip top coat to each nail to seal in the color and add a glossy finish. Allow the top coat to dry fully.
With this simple Gelish Dip tutorial, you can achieve a durable, glossy, and long-lasting salon-quality manicure from the comfort of your own home. Say goodbye to expensive salon trips and hello to stunning, professional-looking nails.