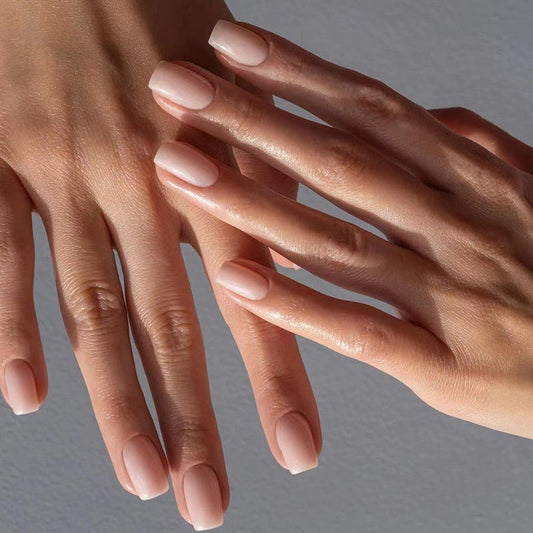
Get a Blooming Look with Gelish Blooming Gel: An Easy Tutorial
If you're looking for a trendy nail art design that looks gorgeous and elegant, you have to try the Gelish blooming gel. This innovative product can transform your plain nails into an exquisite and intricate work of art. In this blog, we'll take you through a step-by-step tutorial on how to use the Gelish blooming gel to get a blooming look.
Step 1: Start with a clean base
Ensure your nails are clean and dry before starting. Remove any nail polish or residue using nail polish remover. File your nails to the desired shape, and make sure to buff the surface to smooth out any rough edges. Apply a base coat to protect your nails and allow it to dry.
Step 2: Choose your design
Decide on what design you want to create. You can choose to go for a minimalist look, or you can get creative with bold and intricate designs. Gelish blooming gel comes in different colors, so choose one that suits your style.
Step 3: Apply the blooming gel
Open your Gelish blooming gel and apply a thin layer on your nails using a brush. Ensure that you're putting enough gel to create the blooming effect. Avoid touching your cuticles while applying the gel.
Step 4: Bloom your nails
Using a different brush, dip it in a solution, preferably alcohol, and gently touch the blooming gel. The alcohol solution will activate the blooming effect, and you'll start seeing beautiful patterns unfold on your nails. You can also use a toothpick or dotting tool to create different designs.
Step 5: Cure
Once you've achieved the desired look, cure your nails under a LED light for 30 seconds. Repeat the process until you've completed all your nails.
Step 6: Apply a Top Coat
Apply a Gelish topcoat to seal in the blooming gel design and protect it from chipping. Cure your nails for another 30 seconds under the LED light.
Step 7: Finish with cuticle oil.
After completing the entire process, finish off by applying cuticle oil to moisturize your cuticles and give your nails a polished look.
There you have it! With these simple steps, you can create a blooming look with Gelish blooming gel. Get creative and try different designs to make your nails stand out. The final result will leave your nails looking amazing and Vogue inspired.
Step 1: Start with a clean base
Ensure your nails are clean and dry before starting. Remove any nail polish or residue using nail polish remover. File your nails to the desired shape, and make sure to buff the surface to smooth out any rough edges. Apply a base coat to protect your nails and allow it to dry.
Step 2: Choose your design
Decide on what design you want to create. You can choose to go for a minimalist look, or you can get creative with bold and intricate designs. Gelish blooming gel comes in different colors, so choose one that suits your style.
Step 3: Apply the blooming gel
Open your Gelish blooming gel and apply a thin layer on your nails using a brush. Ensure that you're putting enough gel to create the blooming effect. Avoid touching your cuticles while applying the gel.
Step 4: Bloom your nails
Using a different brush, dip it in a solution, preferably alcohol, and gently touch the blooming gel. The alcohol solution will activate the blooming effect, and you'll start seeing beautiful patterns unfold on your nails. You can also use a toothpick or dotting tool to create different designs.
Step 5: Cure
Once you've achieved the desired look, cure your nails under a LED light for 30 seconds. Repeat the process until you've completed all your nails.
Step 6: Apply a Top Coat
Apply a Gelish topcoat to seal in the blooming gel design and protect it from chipping. Cure your nails for another 30 seconds under the LED light.
Step 7: Finish with cuticle oil.
After completing the entire process, finish off by applying cuticle oil to moisturize your cuticles and give your nails a polished look.
There you have it! With these simple steps, you can create a blooming look with Gelish blooming gel. Get creative and try different designs to make your nails stand out. The final result will leave your nails looking amazing and Vogue inspired.