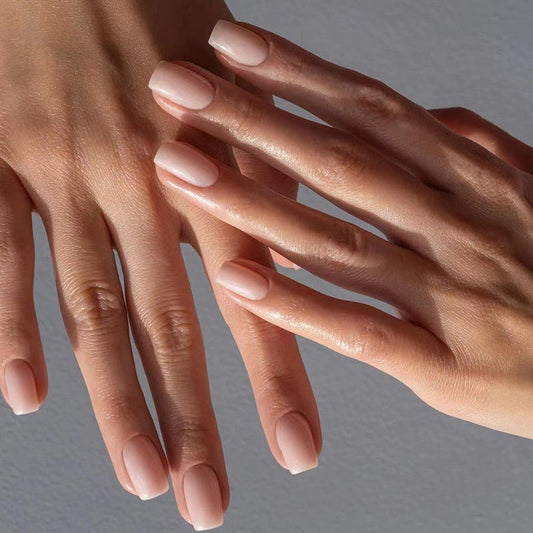
Gelish Tutorial: Perfecting the Art of At-Home Gel Manicures
Are you tired of spending a fortune on salon-based gel manicures? Well, why not try doing them at home with a Gelish tutorial? Gelish is a type of gel nail polish that offers a salon-quality finish but can be applied at home with ease. In this blog post, we will provide you with the ultimate Gelish tutorial that will guide you in perfecting the art of at-home gel manicures.
Here’s our list to keep you organized:
1. Get Your Nails Ready
Before applying Gelish, make sure that your nails are clean, dry, and free of any oils or lotion residue. Buff the nails gently so that the surface becomes slightly rough to allow the Gelish to stick better.
2. Apply Gel Bond
The first step of the application process is to apply Gelish Bond to your nails. This is a primer that helps the Gelish to adhere to your nails.
3. Apply Your Base Coat
Once the bond has dried on your nails, it's time to apply the Gelish Base Coat. Apply a thin layer on each nail, making sure to cover the edges to prevent chipping.
4. Apply Gelish Nail Color
Choose your desired Gelish nail color and apply a thin layer to your nails. Remember to apply the polish to the edges of your nails to prevent chipping.
5. Apply the Top Coat
Allow the nail color to dry before applying the Gelish Top Coat. Apply the top coat in a thin layer onto your nails for a long-lasting and glossy finish.
6. Cure Your Nails
After applying the top coat, place your painted nails under the LED or UV light to cure. Follow the instructions on the Gelish kit for the recommended curing time.
7. Remove the Tacky Layer
Once you have cured your nails, use a Gelish cleanser to remove the tacky layer that is left on your nails. This process will ensure that your nails are completely dry and that the manicure lasts longer.
8. Add Some Moisturizer
Finally, apply cuticle oil or hand cream to moisturize your cuticles and hands.
In conclusion, Gelish is a great option for those who want to achieve salon-quality gel nails at home. By following this Gelish tutorial, you can perfect the art of at-home gel manicures with ease. With a little practice, you will become a pro in no time!
Here’s our list to keep you organized:
1. Get Your Nails Ready
Before applying Gelish, make sure that your nails are clean, dry, and free of any oils or lotion residue. Buff the nails gently so that the surface becomes slightly rough to allow the Gelish to stick better.
2. Apply Gel Bond
The first step of the application process is to apply Gelish Bond to your nails. This is a primer that helps the Gelish to adhere to your nails.
3. Apply Your Base Coat
Once the bond has dried on your nails, it's time to apply the Gelish Base Coat. Apply a thin layer on each nail, making sure to cover the edges to prevent chipping.
4. Apply Gelish Nail Color
Choose your desired Gelish nail color and apply a thin layer to your nails. Remember to apply the polish to the edges of your nails to prevent chipping.
5. Apply the Top Coat
Allow the nail color to dry before applying the Gelish Top Coat. Apply the top coat in a thin layer onto your nails for a long-lasting and glossy finish.
6. Cure Your Nails
After applying the top coat, place your painted nails under the LED or UV light to cure. Follow the instructions on the Gelish kit for the recommended curing time.
7. Remove the Tacky Layer
Once you have cured your nails, use a Gelish cleanser to remove the tacky layer that is left on your nails. This process will ensure that your nails are completely dry and that the manicure lasts longer.
8. Add Some Moisturizer
Finally, apply cuticle oil or hand cream to moisturize your cuticles and hands.
In conclusion, Gelish is a great option for those who want to achieve salon-quality gel nails at home. By following this Gelish tutorial, you can perfect the art of at-home gel manicures with ease. With a little practice, you will become a pro in no time!