Elevating Your Halloween Look with Jack O'Lantern Nail Art
Halloween is a time to go all out with your costumes and beauty looks. One way to elevate your look this year is with Jack O'Lantern nail art. These pumpkin-inspired designs are perfect for adding a spooky touch to your manicure. Here's a guide on how to achieve this trend and take your Halloween game to the next level.
1. Choose Your Base Color
The first step is to choose your base color. Classic Halloween hues like black and orange make a great base, but don't be afraid to experiment with other colors like green, purple, or even metallics.
2. Create Your Jack O'Lantern Design
Once your base color is dry, it's time to create your Jack O'Lantern design. You can either hand-paint the design or use nail stamps and stencils for a more precise look. Some popular designs include Jack O'Lantern faces, pumpkin patches, and spooky silhouettes.
3. Add Dimension
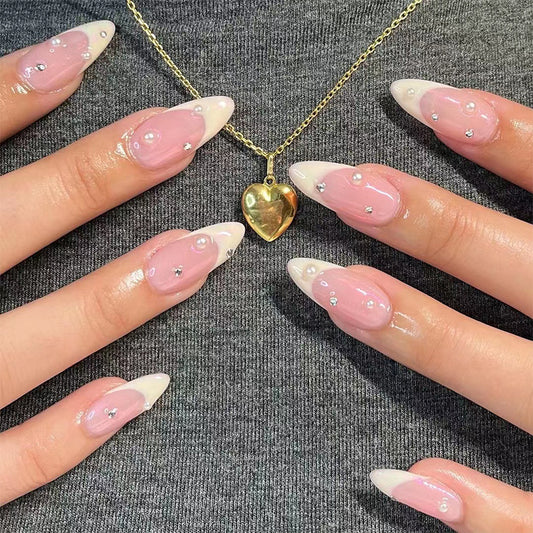
To add dimension to your Jack O'Lantern nail art, consider adding embellishments like rhinestones, glitter, or 3D accents. These details can make your manicure stand out and give it a unique, luxurious touch.
4. Seal the Deal
Lastly, seal the deal with a glossy topcoat to protect your design and add shine. This will ensure your nail art lasts throughout all of your Halloween festivities.
Conclusion
Jack O'Lantern nail art is a fun and easy way to elevate your Halloween look. With these tips, you can create a unique manicure that is sure to turn heads. So, embrace the spirit of the season, and try out this trendy nail art design for yourself. Happy Halloween!


