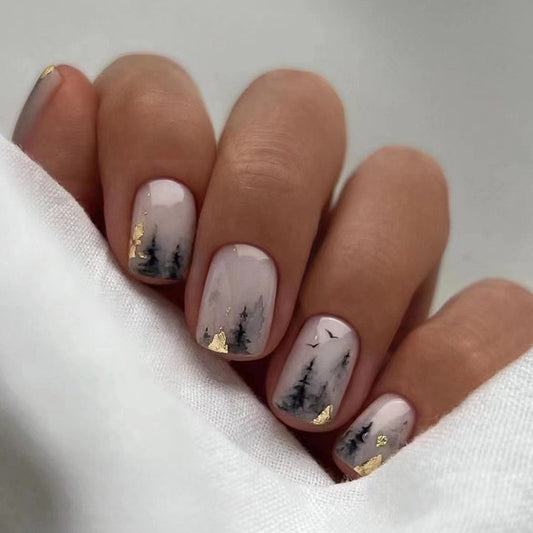
diy glue on nails
To make your own glue on nails at home, you will need:
To apply the glue on nails:
- Artificial nails - You can purchase artificial nails in a variety of shapes, sizes, and materials at a beauty supply store or online.
- Nail glue - Look for a strong, long-lasting nail glue that is designed for use with artificial nails.
- Nail clipper - Use a nail clipper to trim the artificial nails to the desired length and shape.
- Nail file - Use a nail file to smooth out any rough edges and shape the artificial nails to fit your natural nail bed.
- Orange stick or cuticle pusher - Use an orange stick or cuticle pusher to clean under your natural nails and remove any dirt or debris.
- Clear nail polish - Optional, for sealing the artificial nails and adding shine.
To apply the glue on nails:
- Clean your natural nails - Use an orange stick or cuticle pusher to clean under your natural nails and remove any dirt or debris.
- Trim and shape the artificial nails - Use a nail clipper to trim the artificial nails to the desired length and shape. Use a nail file to smooth out any rough edges and shape the artificial nails to fit your natural nail bed.
- Apply the nail glue - Apply a small amount of nail glue to the back of each artificial nail and carefully place it on your natural nail. Press down firmly to ensure a good bond.
- Repeat for each nail - Repeat this process for each nail, making sure to apply the glue on nails evenly and carefully.
- Allow the glue to dry - Allow the glue to dry completely before applying any additional nail polish or decorations.
- Optional: Apply clear nail polish - If desired, you can apply a clear nail polish to seal the artificial nails and add shine.
- Enjoy your new glue on nails! - Once the glue on nails have dried, you can enjoy your new, stylish nails. Be sure to handle them gently and avoid biting or picking at them to ensure they last as long as possible.


