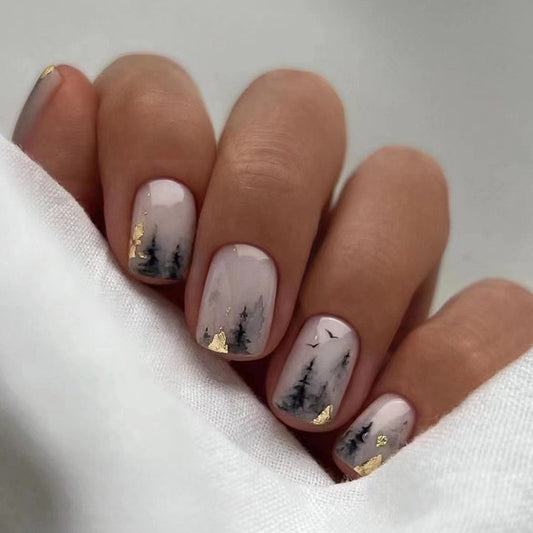
Black and Pink Ombre Nails - A Trendy and Perfectly Edgy Look
Are you looking for a chic and elegant nail look that is both trendy and edgy? Look no further than black and pink ombre nails! This style is perfect for anyone looking to add some depth and sophistication to their manicure. Here are some tips and tricks to help you achieve the perfect black and pink ombre nails look.
1. Start with clean and trimmed nails
Before you begin your ombre nail process, it is important to start with clean and well-trimmed nails. Trim your nails to your desired shape, and then gently push back your cuticles with a cuticle stick. This will give you a clean base to work with and ensure that your ombre nails come out looking flawless!
2. Gather your tools and nail polish colors
To achieve the perfect black and pink ombre nails look, it is essential to have the right tools and nail polish colors. You will need a black and pink nail polish, a makeup sponge, and a small brush. The black and pink colors should be similar in saturation, so they blend well together when you start to create the gradient effect.
3. Apply a base coat
Before we start with the ombre effect, it's important to apply a base coat that will protect your nails and prevent chipping. This also gives your nails a smoother surface to work with. Allow the base coat to dry completely before moving onto the next step.
4. Create the ombre effect with a makeup sponge
Now it's time to create the iconic ombre effect. Start by painting a small amount of the black nail polish onto the sponge. Use a dabbing motion to apply the sponge to the bottom half of your nails. Repeat the same process with the pink polish on the top half of your nails. Make sure the two colors blend seamlessly into one another.
5. Touch up with a small brush
There may be some color bleed along the sides of your nails, and this can easily be touched up with a small brush. Dip the brush in some nail polish remover, and clean up the edges of your nails.
6. Finish with a topcoat
After you are satisfied with the gradient and the neatness of your black and pink ombre nails, apply a topcoat to seal it in and add some shine. This will also prevent your nails from chipping and help to ensure that your ombre look lasts as long as possible.
In summary, this black and pink ombre nail look is both sophisticated and edgy. With a little bit of practice and patience creating an ombre gradient, this look can be achieved right at home. Stay on top of the hottest nail trends with this unique and eye-catching nail style!


