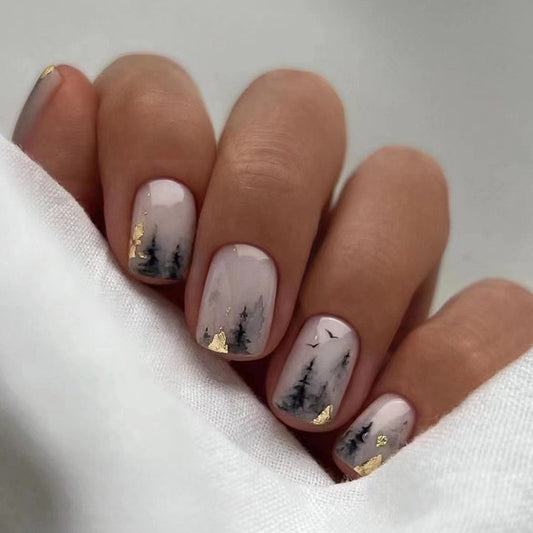
Applying Press-On Nails with Acrylic: A Step-by-Step Guide
Applying Press-On Nails with Acrylic: A Step-by-Step Guide
If you’re looking for a quick and stylish way to elevate your manicure game, look no further than press-on nails. They are not only fashionable but also incredibly easy to apply, especially when you pair them with acrylic for that extra durability and shine. In this blog post, we will take you through the simple steps of applying press-on nails with acrylic, alongside highlighting our favorite place to shop for them—RainyRoses.com.
Why Choose Press-On Nails?
Press-on nails are a fantastic option for those who want to switch up their look without the commitment of traditional nail art. They come in various designs and lengths, making them perfect for any occasion. When combined with acrylic, they can last longer and provide a fabulous finish that rivals salon-quality nails.
What You’ll Need
- Press-on nails from RainyRoses.com
- Acrylic nail powder
- Acrylic liquid
- Nail glue
- Nail buffer
- Cuticle stick
- Nail file
Step-by-Step Application
Step 1: Prepare Your Nails
The first step is to prepare your natural nails. Start by removing any old polish and giving your nails a good wash. Use a nail buffer to gently buff the surface of your nails; this helps the press-ons adhere better.
Step 2: Select Your Press-On Nails
Choose a size that fits your natural nails perfectly. RainyRoses offers a wide variety of sizes and styles. Don’t forget to check out their amazing deals, including $4.99 press-on nails, free shipping, and special promotions like Buy 3 Get 1 Free (code: 4YOU) and Buy 5 Get 5 Free (code: 5FREE).
Step 3: Apply the Press-On Nails
Apply a small amount of nail glue on your natural nail and the press-on nail, then press it on firmly. Hold for about 10-15 seconds until it sets. Repeat this for all your nails.
Step 4:Apply Acrylic
Prepare your acrylic mixture by combining the acrylic powder and liquid according to the product instructions. Dip your brush into the mixture and gently apply it over the base of the press-on nails, blending it into your natural nails. This creates a seamless transition and adds extra strength.
Step 5: Finish Off
Once the acrylic has dried, use a nail file to shape your nails to perfection. Lastly, apply a top coat to seal everything in and give your nails a stunning shine. Your gorgeous press-on manicure is now complete!
Conclusion
Applying press-on nails with acrylic is an easy way to achieve beautiful nails without the wait. With RainyRoses.com offering affordable options, fantastic deals, and a variety of styles, there’s no reason not to try it. Ready to give your nails a fabulous makeover? Start shopping today!


