10 Steps for Chic Checkered Nail Art: A Simple Tutorial
The checkered nail art trend is making a comeback, and we can't get enough of it. It's chic, trendy, and easy to do at home. In this tutorial, we'll walk you through the process of achieving a checkered nail design that's perfect for any occasion. Here are the 10 steps you need to follow:
Step 1: Clean and prep your nails. Remove any old nail polish and file your nails to your desired shape.
Step 2: Apply a base coat. This will protect your nails and help your nail polish last longer.
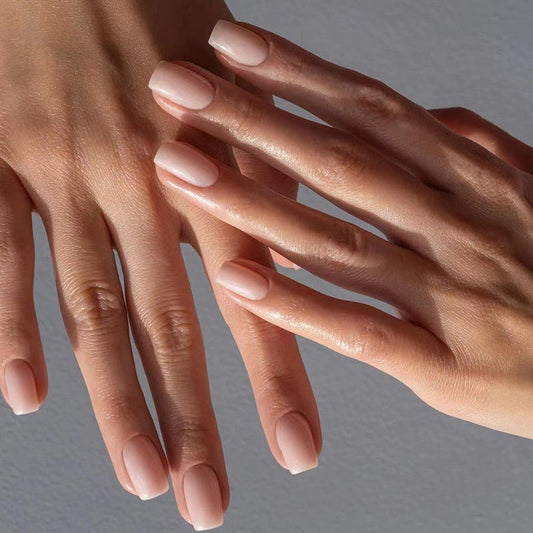
Step 3: Apply your base color. Choose a color that will contrast nicely with your black and white checkered pattern. We recommend using a light pastel color.
Step 4: Let your base color dry completely. This is essential before moving on to the next step.
Step 5: Take a black nail polish and apply small dots onto each nail. The dots should be evenly spaced and in straight lines.
Step 6: Repeat the same process with a white nail polish, making sure to overlap the black dots slightly.
Step 7: Using a thin nail art brush, draw vertical lines to connect the dots. Start with the black polish, and then do the white polish.
Step 8: Draw horizontal lines to complete the checkered pattern. Use the same technique as above, alternating between black and white polish.
Step 9: Clean up any mistakes. Use a small brush or a cotton swab dipped in nail polish remover to clean up any smudges or mistakes.
Step 10: Apply a topcoat to seal the design and protect your nails.
With these 10 steps, you'll have a gorgeous checkered nail design that's sure to turn heads. Experiment with different color combinations, and don't be afraid to get creative! Give your nails the chic and trendy look they deserve.
Step 1: Clean and prep your nails. Remove any old nail polish and file your nails to your desired shape.
Step 2: Apply a base coat. This will protect your nails and help your nail polish last longer.
Step 3: Apply your base color. Choose a color that will contrast nicely with your black and white checkered pattern. We recommend using a light pastel color.
Step 4: Let your base color dry completely. This is essential before moving on to the next step.
Step 5: Take a black nail polish and apply small dots onto each nail. The dots should be evenly spaced and in straight lines.
Step 6: Repeat the same process with a white nail polish, making sure to overlap the black dots slightly.
Step 7: Using a thin nail art brush, draw vertical lines to connect the dots. Start with the black polish, and then do the white polish.
Step 8: Draw horizontal lines to complete the checkered pattern. Use the same technique as above, alternating between black and white polish.
Step 9: Clean up any mistakes. Use a small brush or a cotton swab dipped in nail polish remover to clean up any smudges or mistakes.
Step 10: Apply a topcoat to seal the design and protect your nails.
With these 10 steps, you'll have a gorgeous checkered nail design that's sure to turn heads. Experiment with different color combinations, and don't be afraid to get creative! Give your nails the chic and trendy look they deserve.